Digital amateur TV on 70cm, 33cm and 23cm
I love my BladeRF! It’s a very versatile SDR transceiver, and I’ve used it to receive and transmit all sorts of signals. Most recently I got it transmitting DVB-T digital television signals on the amateur radio bands, with my trusty NooElec TV28T serving as the receiver. (It is a TV tuner, after all, so why not use it as one for once?) In this post, I’ll show you how to replicate what I’ve done.
First off, you’ll need two laptops running Linux: one to transmit, and one to receive. The transmit laptop needs to have the latest version of GNU Radio installed. If you’re running Ubuntu, the easiest way to get that done is to use OZ9AEC’s package archive. At a command prompt, run the following:
sudo add-apt-repository ppa:gqrx/snapshots
sudo apt-get install gnuradio gnuradio-dev gqrx libboost-all-dev libcppunit-dev swig liblog4cpp5-dev
Once that’s done, you’ll need to install YO3IIU’s DVB-T package for GNU Radio:
git clone https://github.com/BogdanDIA/gr-dvbt.git
cd gr-dvbt
mkdir build
cd build
cmake -DCMAKE_INSTALL_PREFIX=/usr ../
make
sudo make install
sudo ldconfig
cd ..
Next, grab my collection of SDR examples:
git clone https://github.com/argilo/sdr-examples.git
Included in that collection is dvbt-blade.py, a script written by W6RZ that lets you transmit DVB-T from the command line using a BladeRF. Since amateur stations typically operate at much lower power than commercial broadcasters, I’ve modified it to use the lowest available bit rate, which should maximize the distance at which the signal can be received. (If you want to experiment with higher bit rates, you can change the “channel_mhz”, “mode”, “code_rate”, “constellation” and “guard_interval” variables. You’ll also need to adjust the mux rate of your transport stream, which can be calculated using W6RZ’s dvbrate.c.) The script is configured to transmit at a centre frequency of 441 MHz, so be sure to attach a suitable 70cm antenna to your BladeRF’s TX port before transmitting.
The script expects to be given an MPEG transport stream as input. Fortunately, we can produce one in real time using avconv. It can record video from the laptop’s webcam and audio from the laptop’s microphone, and encode them into a suitable transport stream. To let avconv and dvbt-blade.py talk to each other, we’ll create a fifo:
mkfifo in.fifo
Then we launch dvbt-blade.py and tell it to read from the fifo:
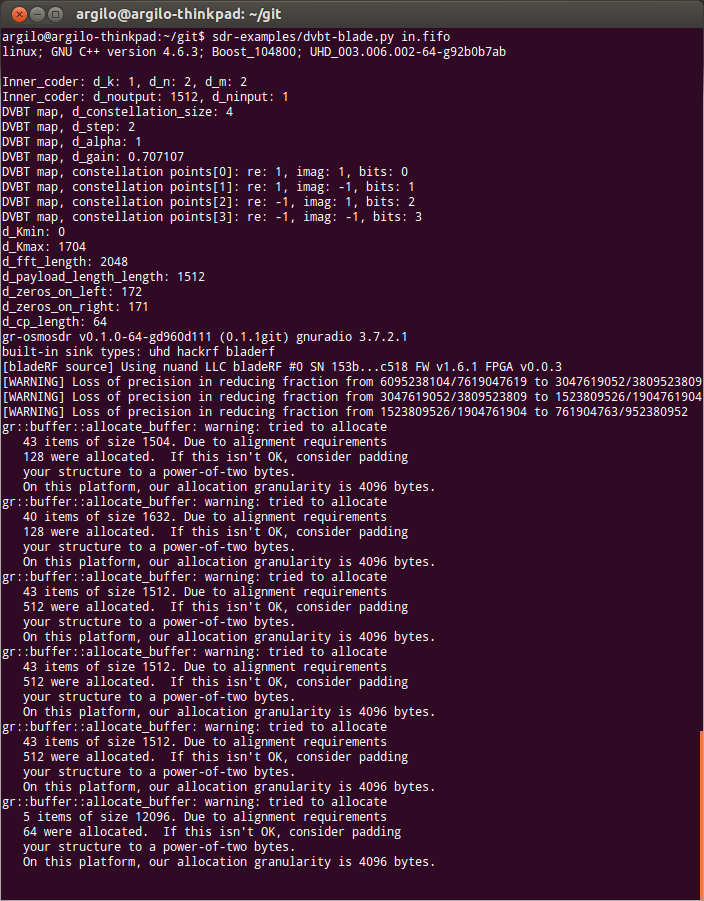
sdr-examples/dvbt-blade.py in.fifo
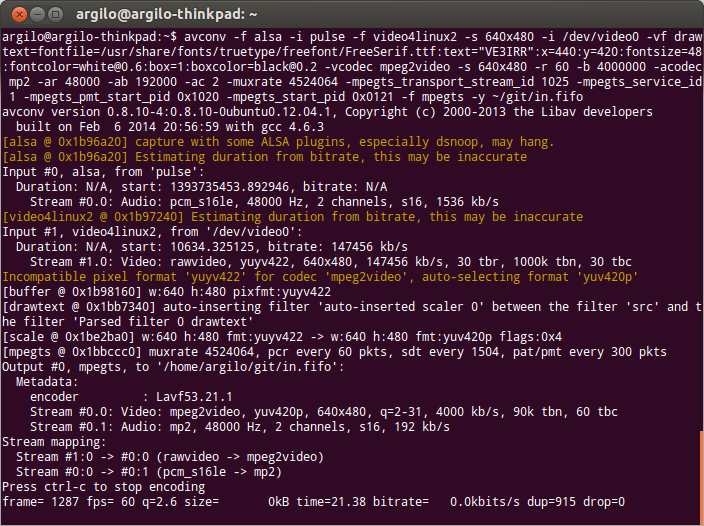
You’ll see some output, but nothing will be transmitted yet because no data is arriving in the fifo. To fix that, open a second terminal window and run avconv like so. Be sure to replace XXXXXX with your own call sign, which will be displayed in the lower right corner of the video.
avconv -f alsa -i pulse -f video4linux2 -s 640x480 -i /dev/video0 -vf drawtext=fontfile=/usr/share/fonts/truetype/freefont/FreeSerif.ttf:text="XXXXXX":x=440:y=420:fontsize=48:fontcolor=white@0.6:box=1:boxcolor=black@0.2 -vcodec mpeg2video -s 640x480 -r 60 -b 4000000 -acodec mp2 -ar 48000 -ab 192000 -ac 2 -muxrate 4524064 -mpegts_transport_stream_id 1025 -mpegts_service_id 1 -mpegts_pmt_start_pid 0x1020 -mpegts_start_pid 0x0121 -f mpegts -y in.fifo
You may need to install additional packages so that avconv has access to all the codecs it needs. If all goes well, your two terminal windows should look like this:
Now, over to the receiving laptop, which will use an RTL-SDR dongle to pick up the signal. Since support for the RTL2832 chip was only recently added to the Linux kernel, you’ll want to be running a recent Linux distribution such as Ubuntu 13.10. Make sure you have vlc installed:
sudo apt-get install vlc
Then launch vlc like so:
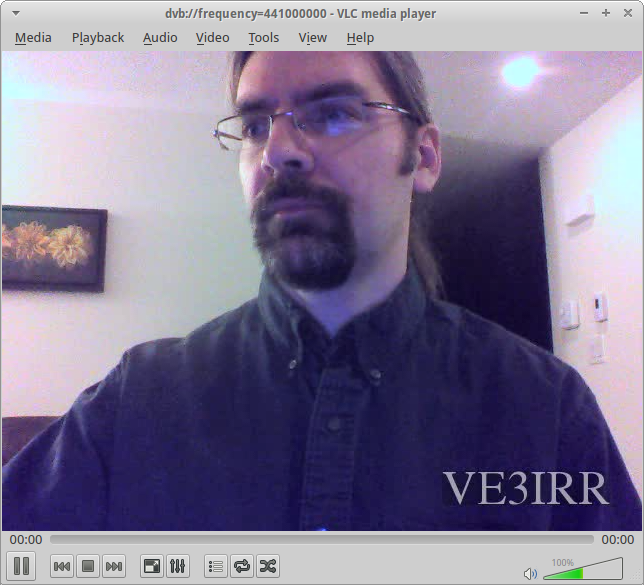
vlc dvb://frequency=441000000:bandwidth=6
If all goes well, you’ll see your video and hear your audio!
Now that you’ve succeeded on the 70cm band, you may want to try this on the 33cm and 23cm bands as well. Unfortunately, the Linux drivers for the RTL-SDR dongle currently limit its maximum frequency to 862 MHz, a bit below the 33cm band. Until the drivers get updated (I’ve already submitted a patch request), you can work around the problem by patching the kernel modules on your receiving laptop using the dvb-freq-fix.py script in my sdr-examples repository:
sudo sdr-examples/dvb-freq-fix.py
If everything worked correctly, the script should print out “Success!” twice. If you saw that, then reboot, and you should now be able to tune all the way up to 1750 MHz. On the transmitting laptop, change the “center_freq” variable to 913000000 for 33cm or 1279000000 for 23cm, put an appropriate antenna on your BladeRF’s TX port, and fire up dvbt-blade.py and avconv again. On the receiving laptop, fire up vlc again, putting the appropriate value in for the “frequency” parameter.
In my experiments, I found that the BladeRF put out the most power on the 33cm band. I was able to receive the signal all around the house, using a rubber duck 33cm antenna on the BladeRF and the RTL-SDR dongle’s stock antenna. I’ve had a QSO with VA3DGN on 70cm. To get the signal beyond my house, I hooked the BladeRF up to a Down East Microwave 70cm 25 watt power amplifier.
Have fun with DVB-T! I’d love to hear back if you make any contacts.